In this blog I will give brief instructions to setting up an Azure Batch Service, which is required to execute C# code through Custom Activities via Azure Data Factory.
To begin, sign into the Azure Portal using an account with permissions to create new resources / services.
Click on the + New to add a new Service.
Type Batch Service into the search field and press Enter.
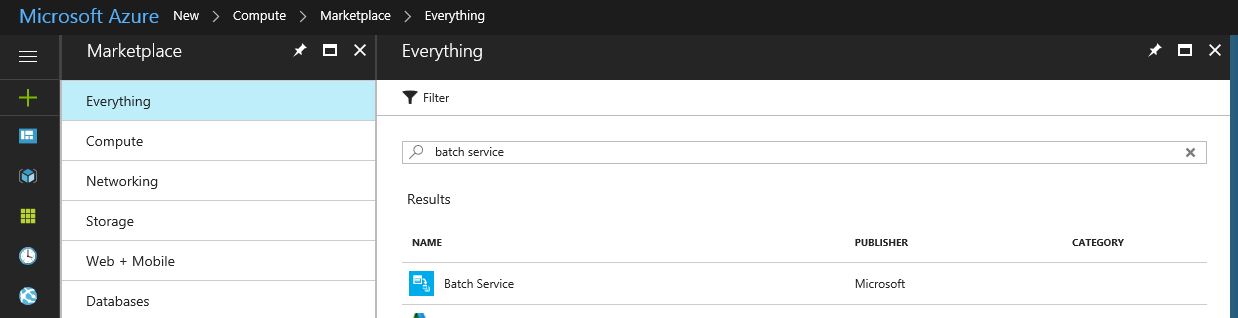
Select Batch Service , publisher Microsoft.
Click Create
Fill in details for the new services
- Type in a unique account name.
- Select the Subscription.
- Select either Create new or Use existing resource group.
- Select the Location for the batch account.
- Select a Storage Account . Create a new one or use an existing one.
- Leave Pool allocation mode as Batch Service.

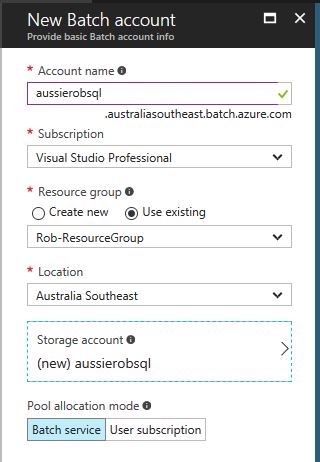
Click Create, and in a few minutes the Batch Account will be created.
Now we need to assign a pool to the Batch Account.
Bring up the Batch Account by searching Search resources
Select Pools (under Features) and then click + Add
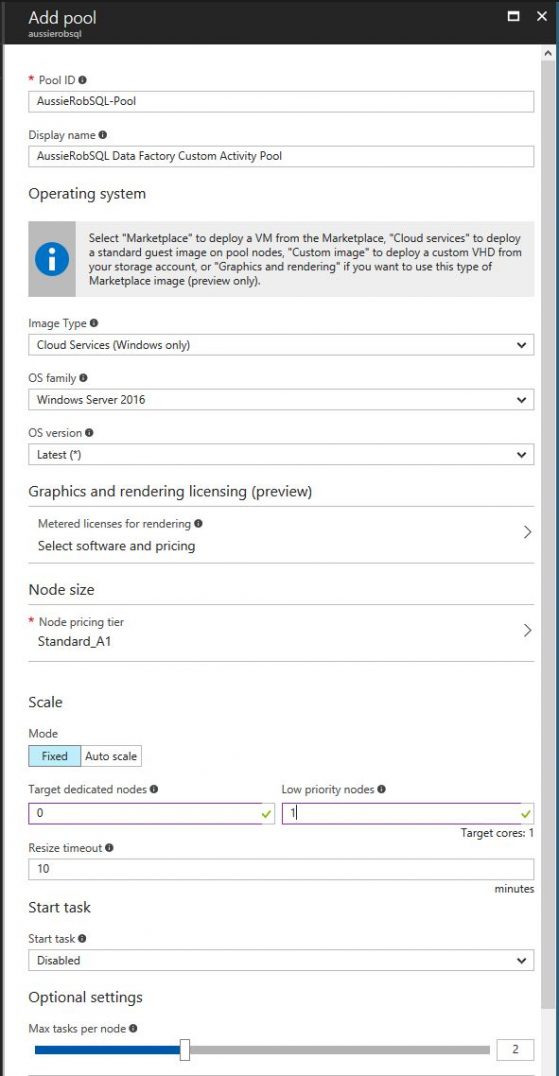
For Pool ID, give your Pool a name that is unique in the Batch account.
Select a Display Name for the Pool to help identify it.
As we’ll be using this pool for C# Custom Activities, we’ll create Windows images.
Choose Image Type Cloud Services (Windows only) (you can choose a Market place image as well if you want to)
OS Family – Windows Server 2016
OS version Latest (*)
Leave Graphics and rendering licensing (preview) as default
Node size, In this example I’ve chosen A1.
I’ve left Mode as Fixed.
Set Target Dedicated Nodes / Low Priority Nodes as required.
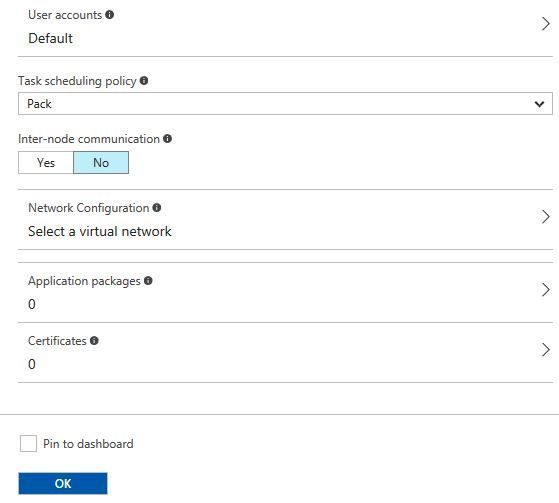
Leave Resize timeout and Start task as default.
Max tasks per node, I’ve selected 2.
Leave the rest as default and select Ok.
The pool will be created and after about 10 minutes the Pool will be ready.
In my next Blog, I will set up a sample Data Factory activity.